
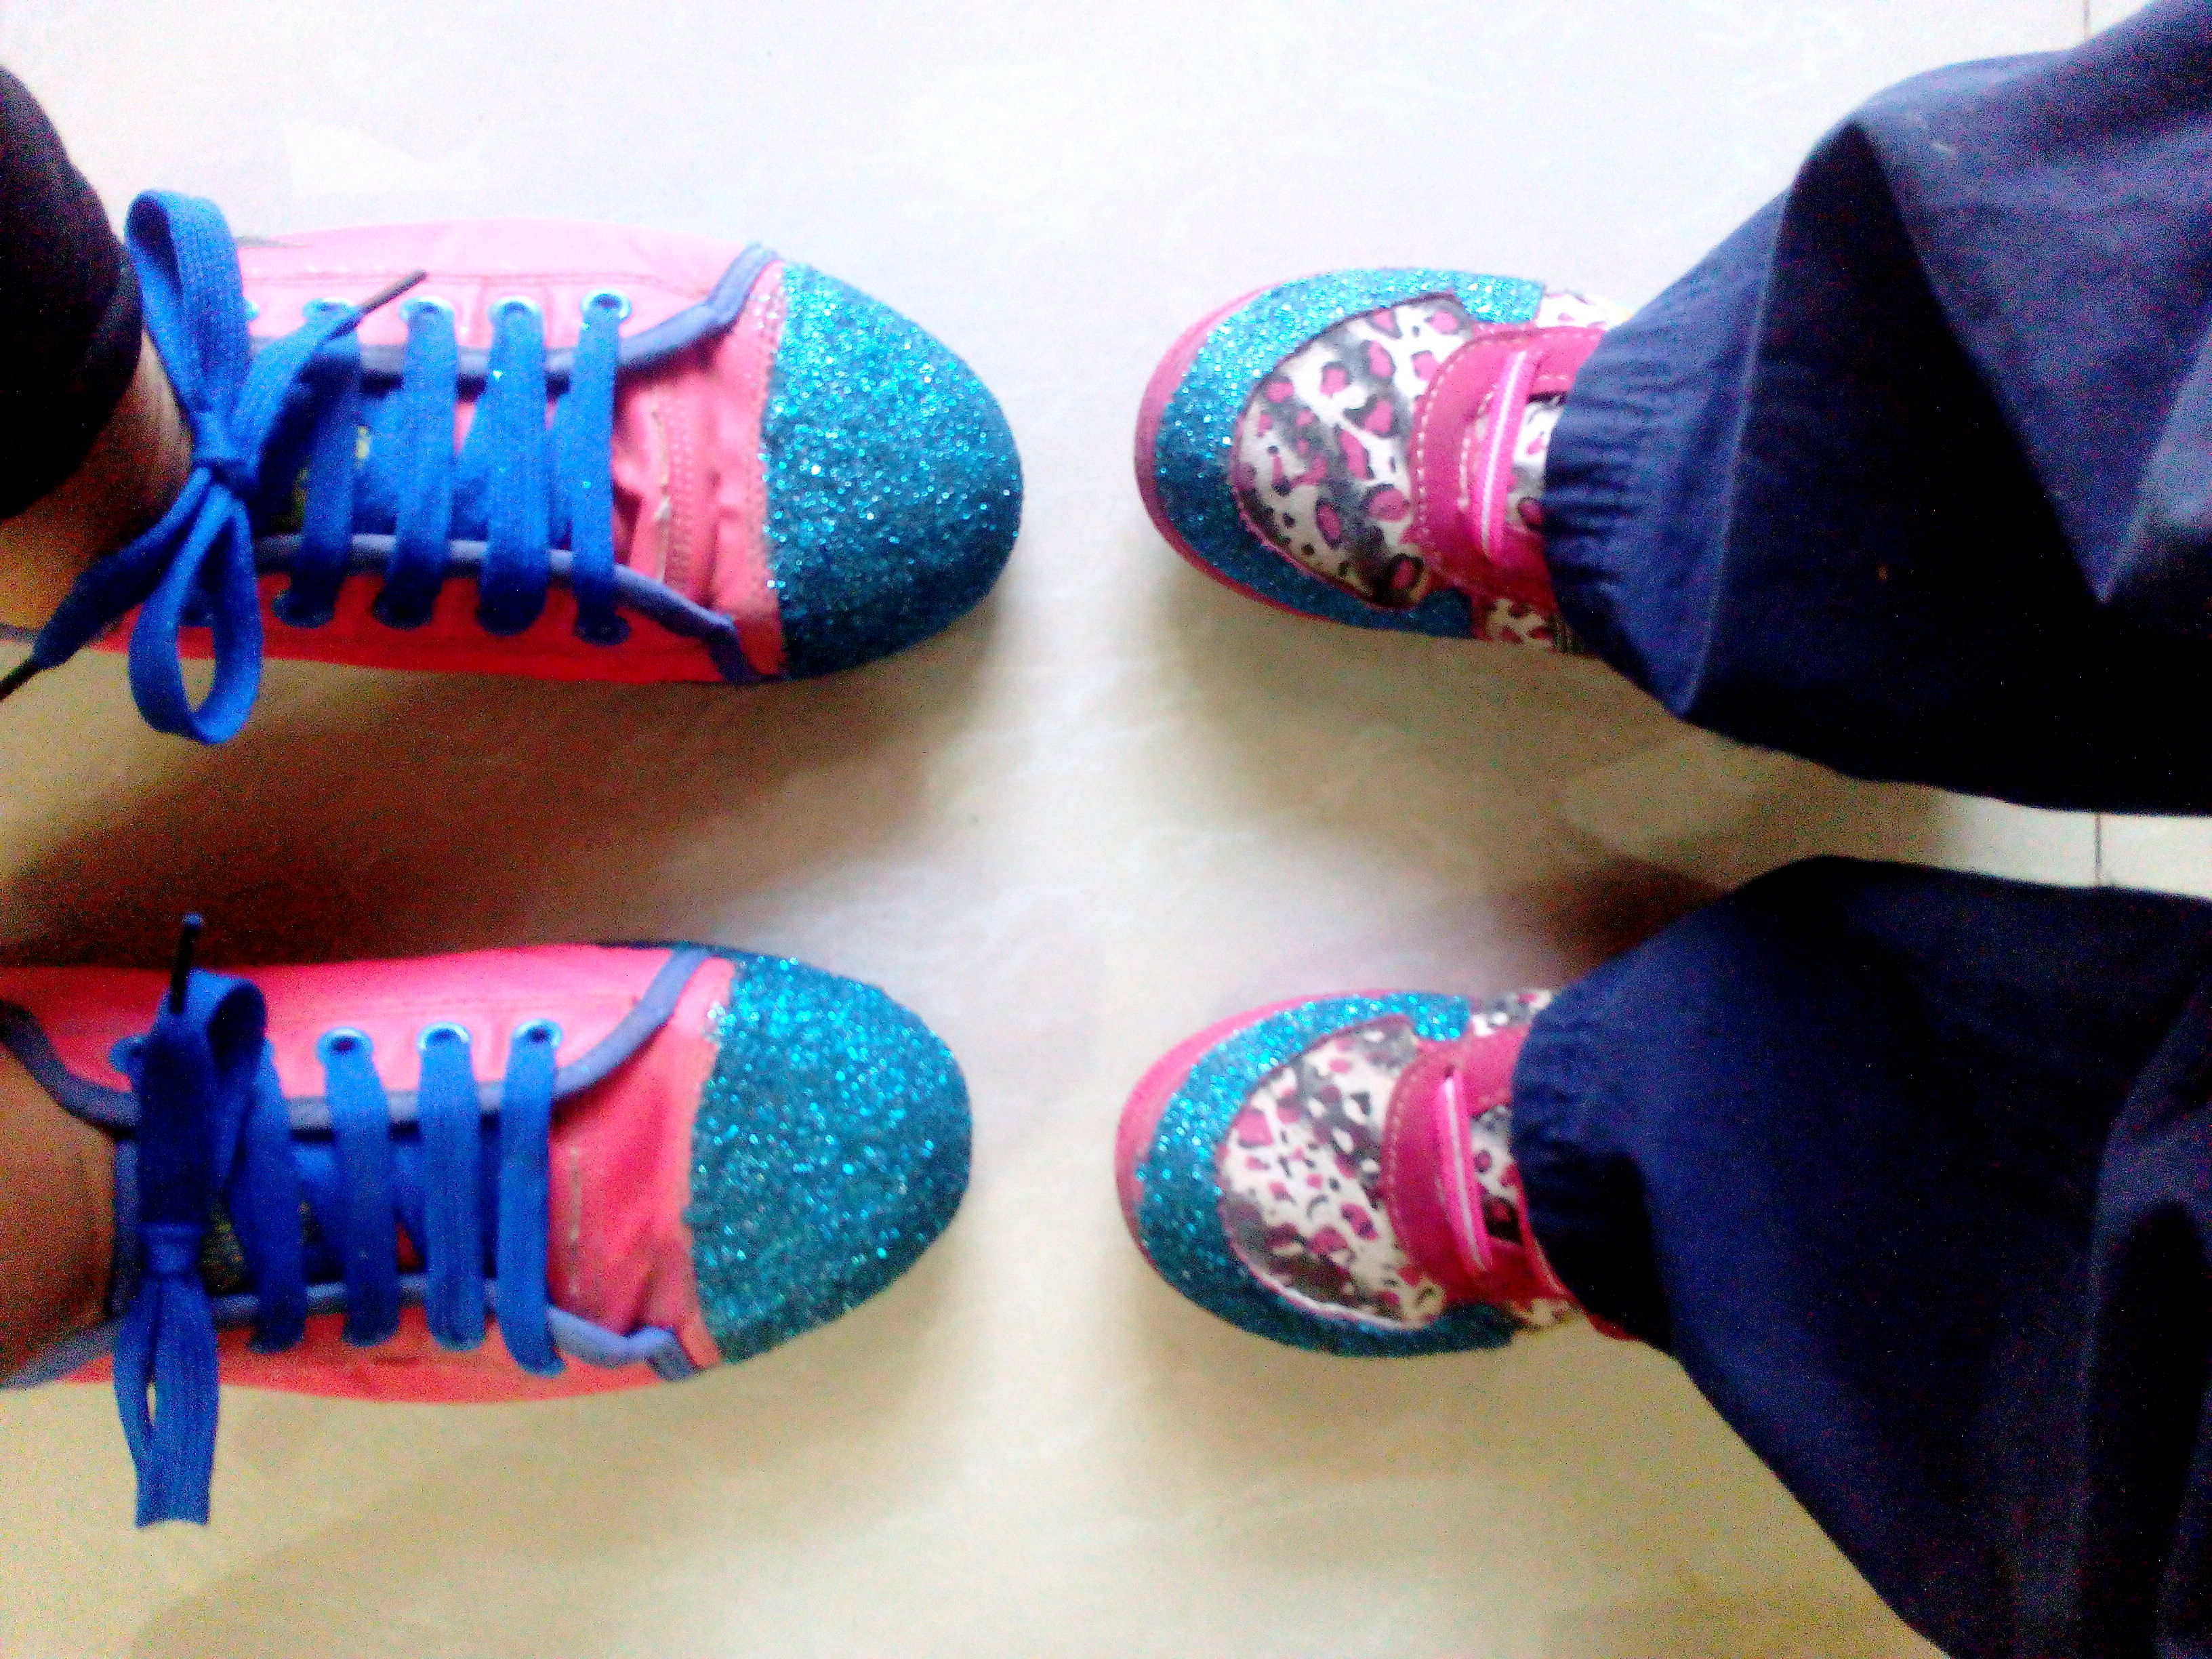
I love my shoes, like literally. The kind of girl who gets emotional cries when she has to say Good bye to a shoe. I bought this pair on my visit to Maldives. That time these candy colors in shoes were alien in our side of the world, so I kind of got crazy and bought these, even though they were way too overpriced. I have worn these with utmost care and managed pretty well of not spoiling these babies all these years ( Wear only to the malls or in the car)
Now as they were giving up on me, I really wasn’t ready to do the same and my Glitter DIY came to the rescue. Anything with Glitter makes life happier. It is super easy and the end product is beyond my expectations. You can use this DIY with any shoe, ballerinas, stilettos, block heels. You can get more creative by DIY-ing only the heels of the shoe, it looks oh so amazing.
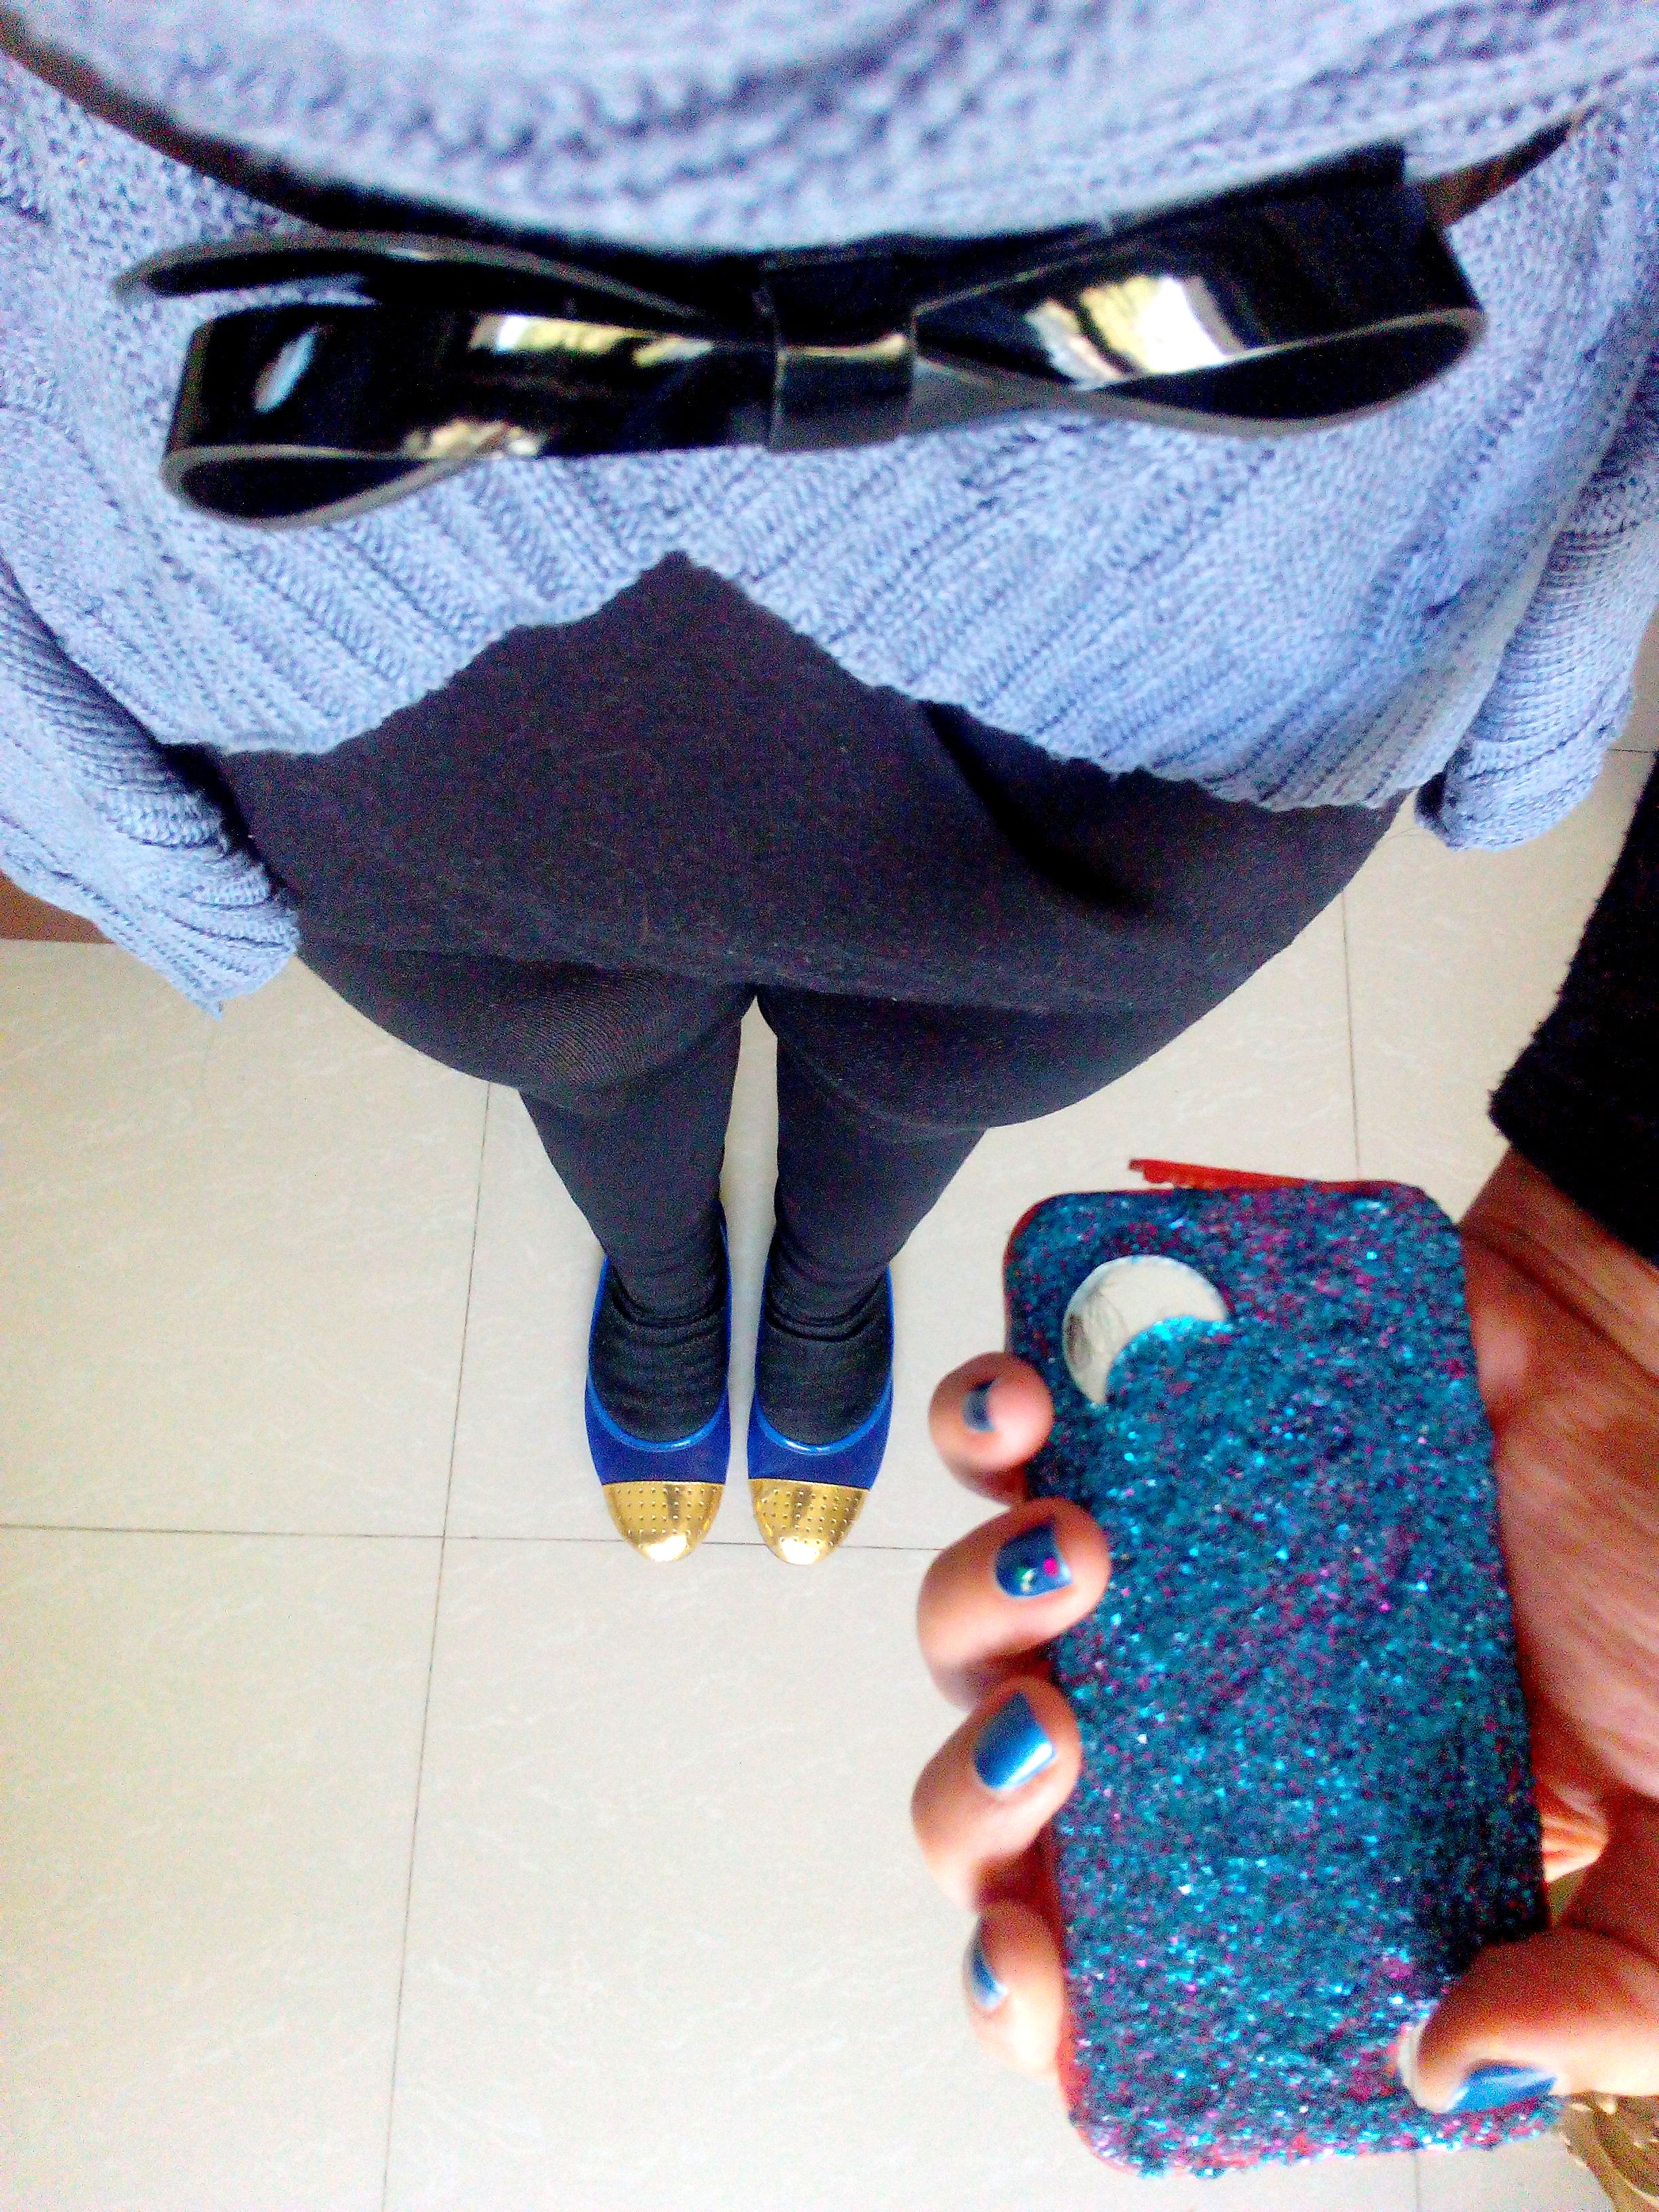
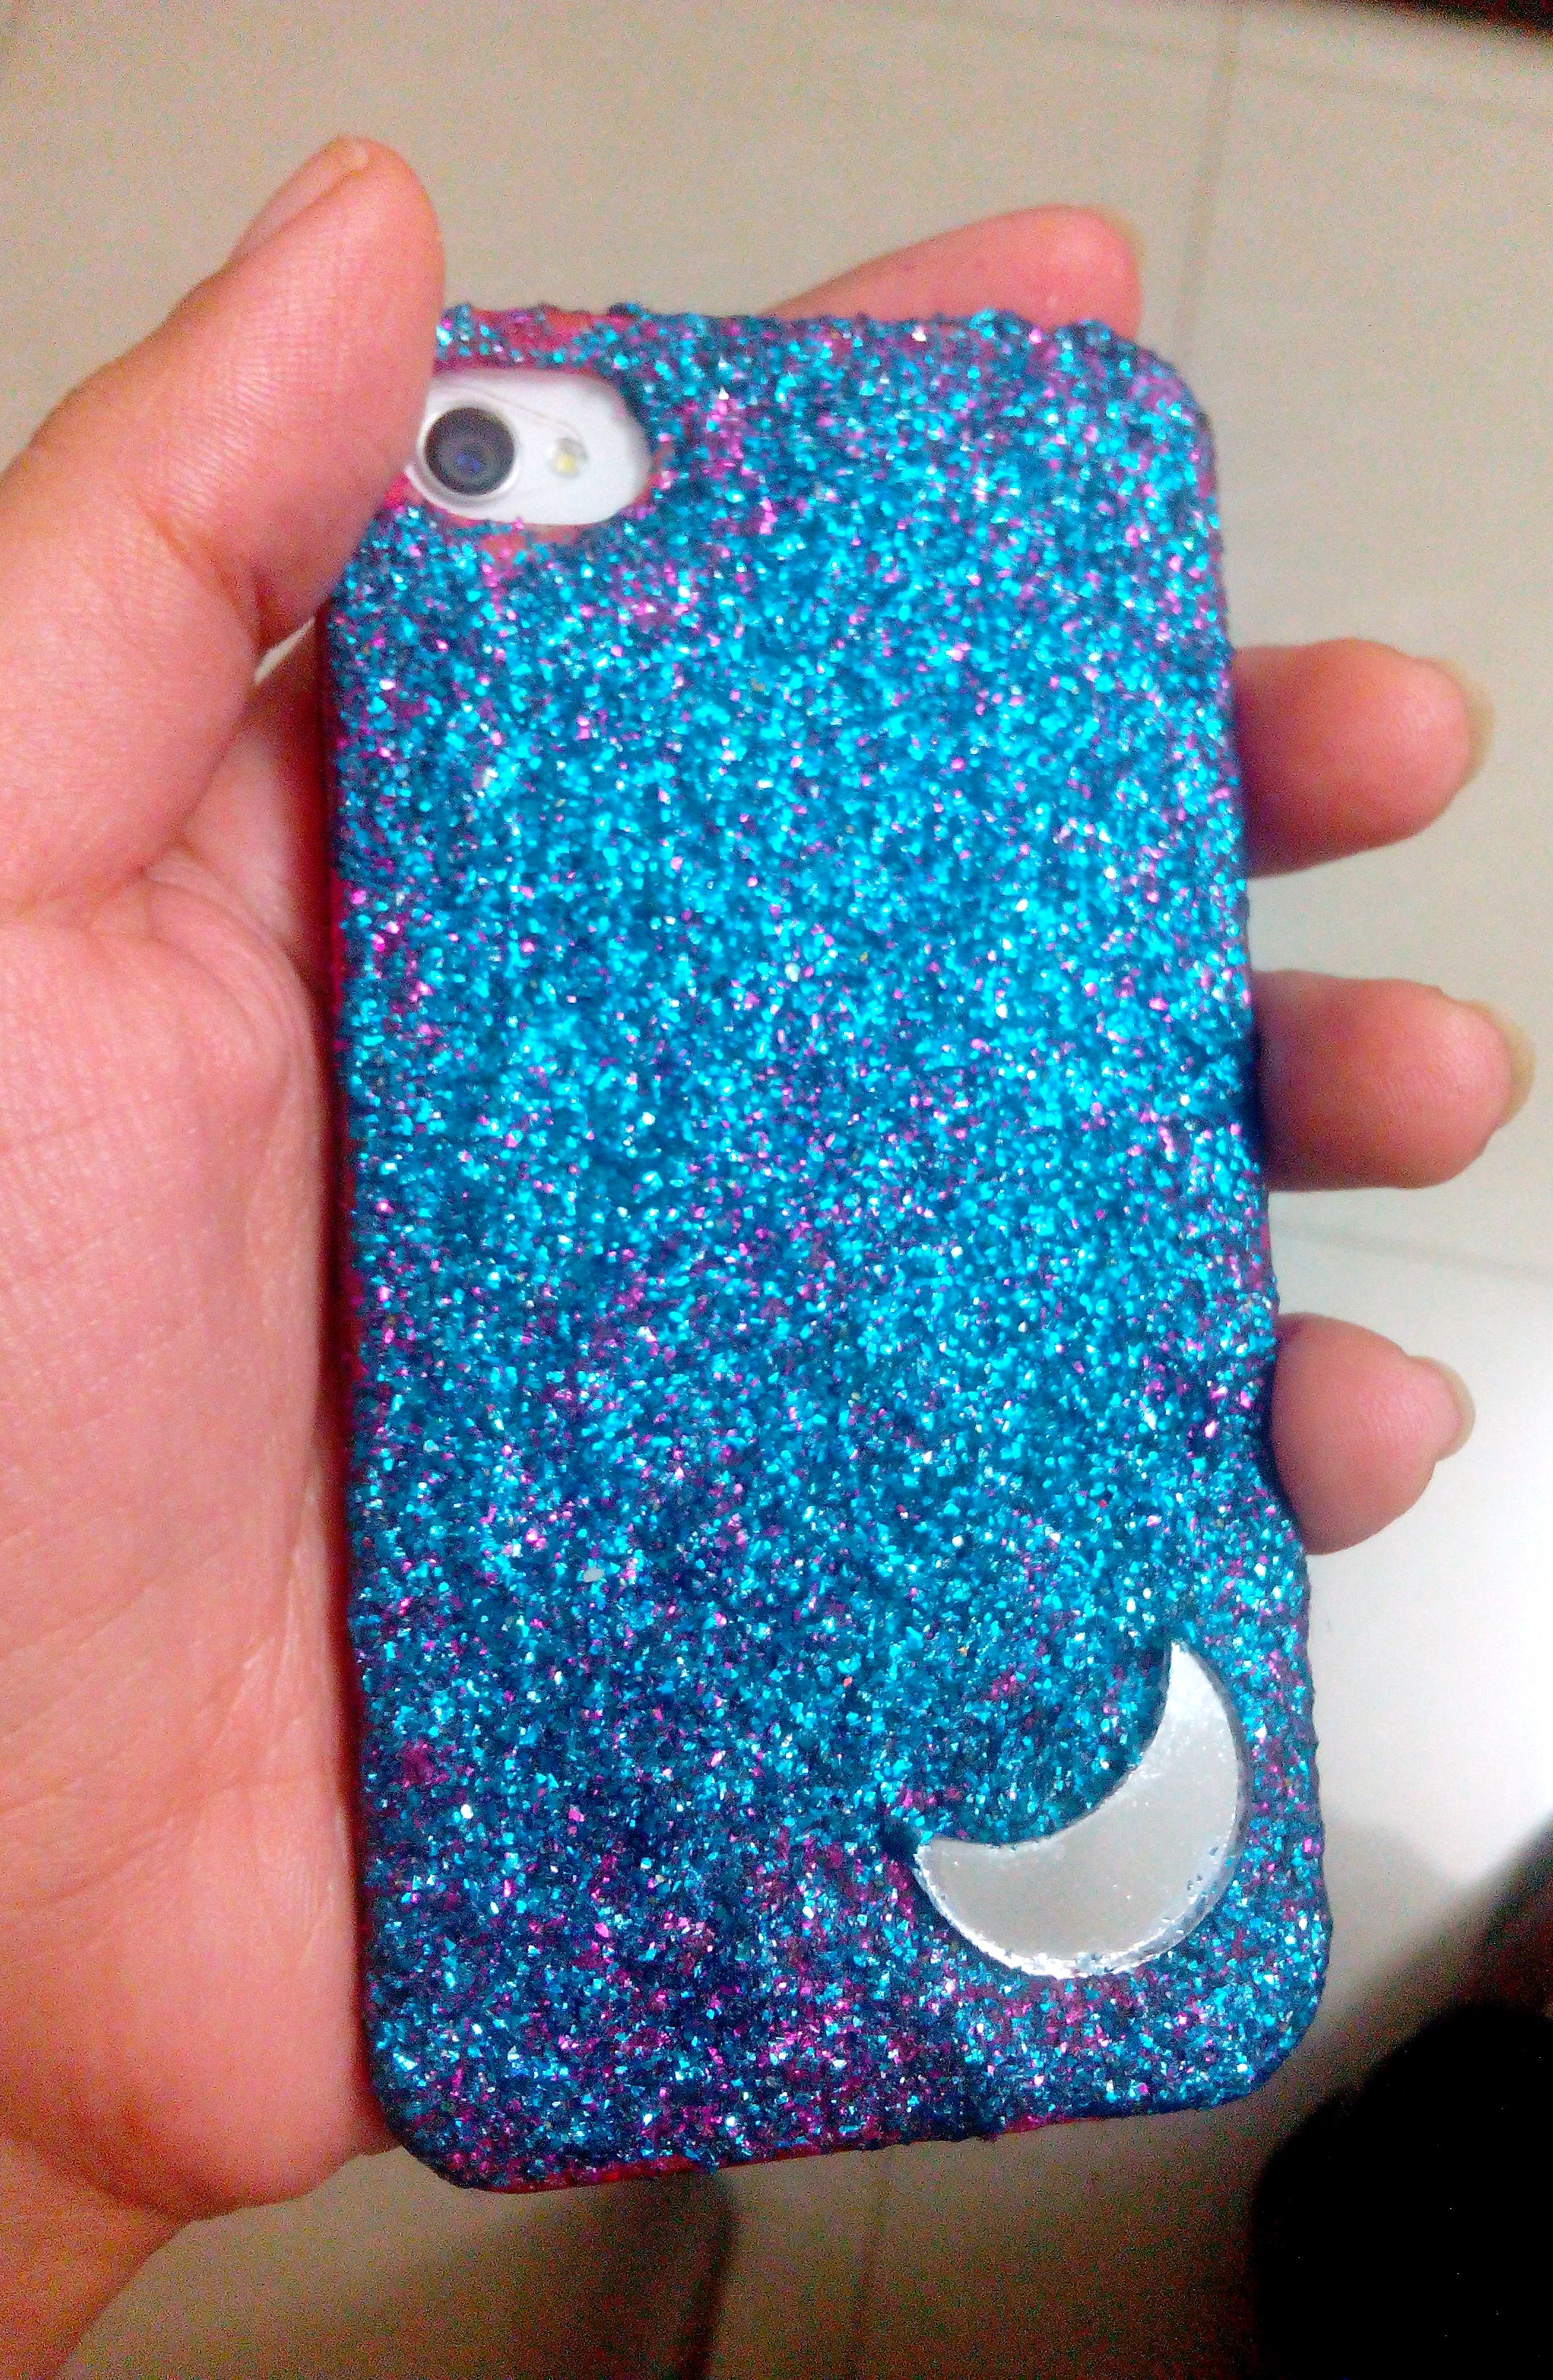
Some time back I DIY-ed my phone case pink but never came around to using it as it was too pink. So after I was done with my shoes, some glitter was left and I did my phone case again, added a moon mirror on the side and you can see the end result here.
What you need:
*Any old pair of shoes
* Glitter – Any colour you fancy
* Brushes
* Fevicol and Fabric glue (don’t use that transparent gum adhesive. If you use it then don’t curse me later)
* Glitter paints – Optional
* Tape – I used Surgical tape as I had that at home
* A bowl for mixing and creating a mess
* Old newspapers for saving you from the mess
**I did not buy anything from the market especially for the DIY. Isn’t that the whole purpose of DIY? Okay, get the glue atleast and the glitter ofcourse.
# Take a shoe and cover the parts with tape which you do not want to put glitter on. If it’s a belly and you do want to cover it all then put it on the base if you don’t want to leave a trail of sparkle wherever you go. If you want to do only the heels of your stilettos then cover the whole shoe except the heel with tape.
# Optional step – Take Acrylic glitter paint and paint it all over the shoe. It is optional only because if in future you lose the glitter from some sides of the shoe then beneath color would be same as of the rest of the Glitter and won’t look odd.
# Take equal amounts of Fabric glue and fevicol in a bowl and mix. Add few drops of water if the mix is way too hard to use.
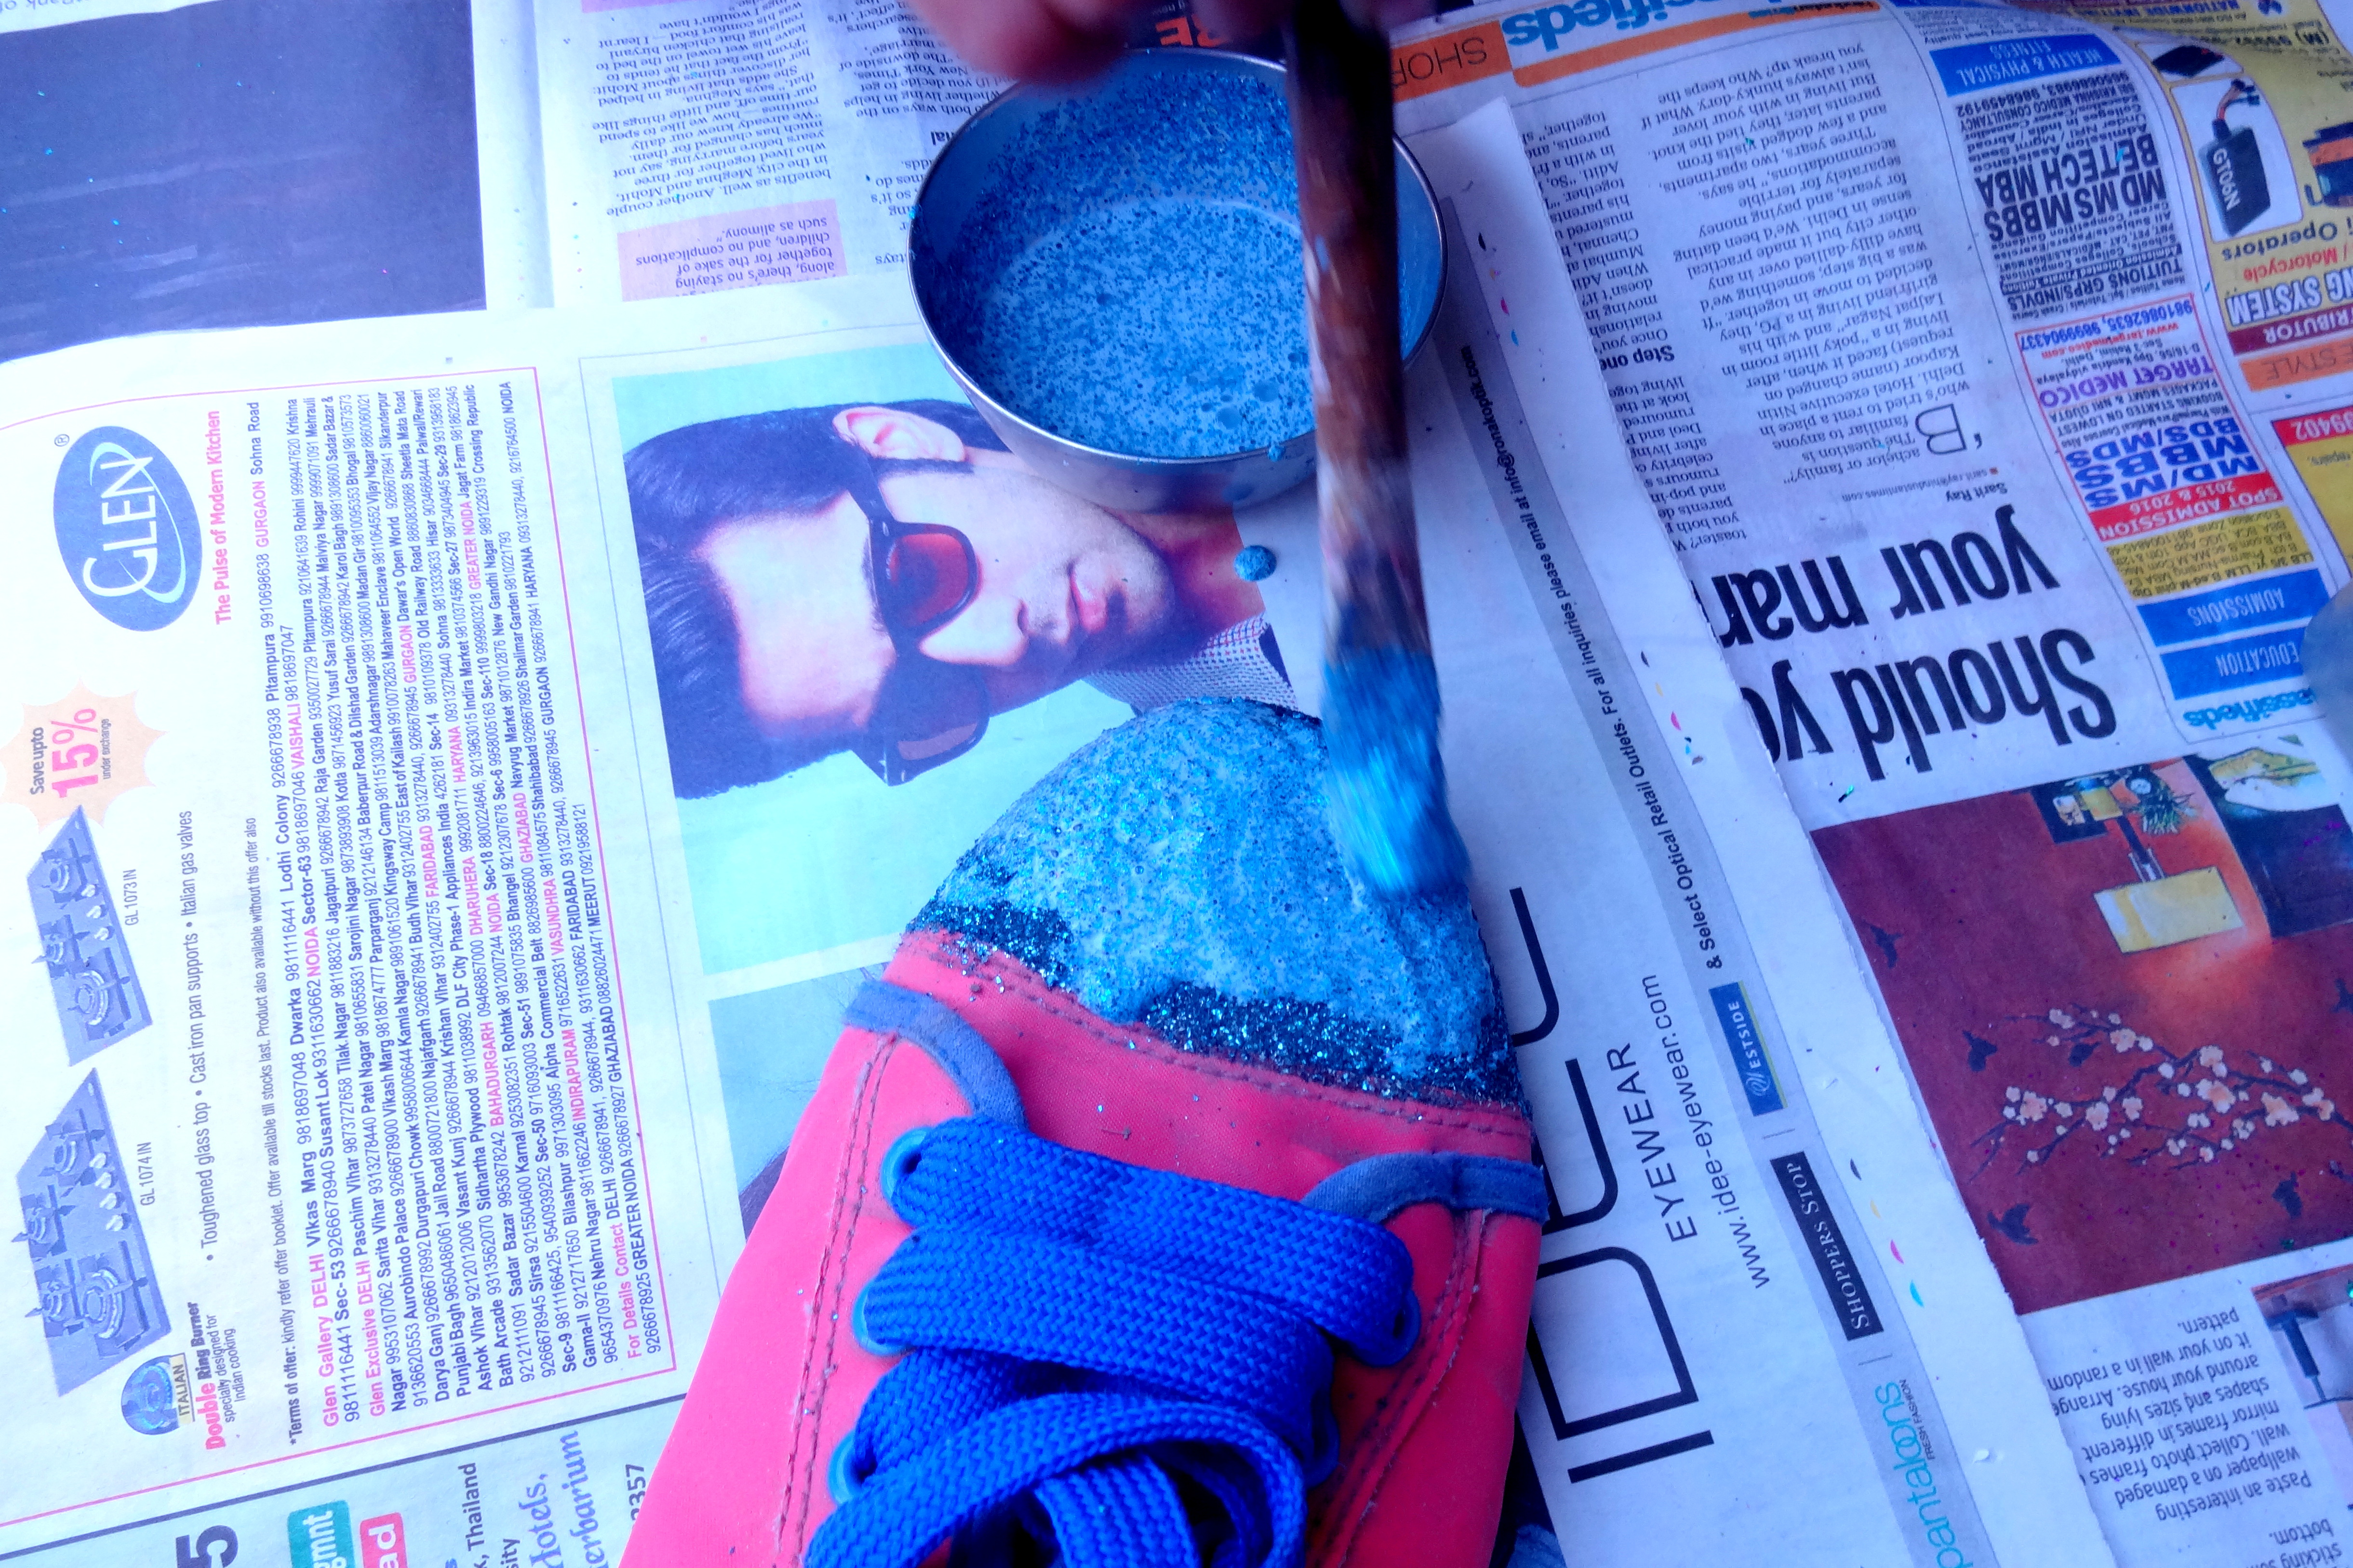
# Add loads of Glitter in the bowl. You will realize the glue mixture would swallow all the glitter in some seconds, and its okay. Layer the shoe once with this mixture and let it sun-dry or fan-dry for 10 minutes.
# Again layer the shoe with the same mixture, but now throw dry glitter all over the shoe. It would get stuck to the shoe and the remaining would be on the newspaper which you can collect and use again.
# Repeat the above two steps 5-6 times or as many times till you feel satisfied enough. I was doing it with my niece and was having fun so didn’t even realized how many times we did it.
# Let it dry and keep it in sunlight for atleast two days.
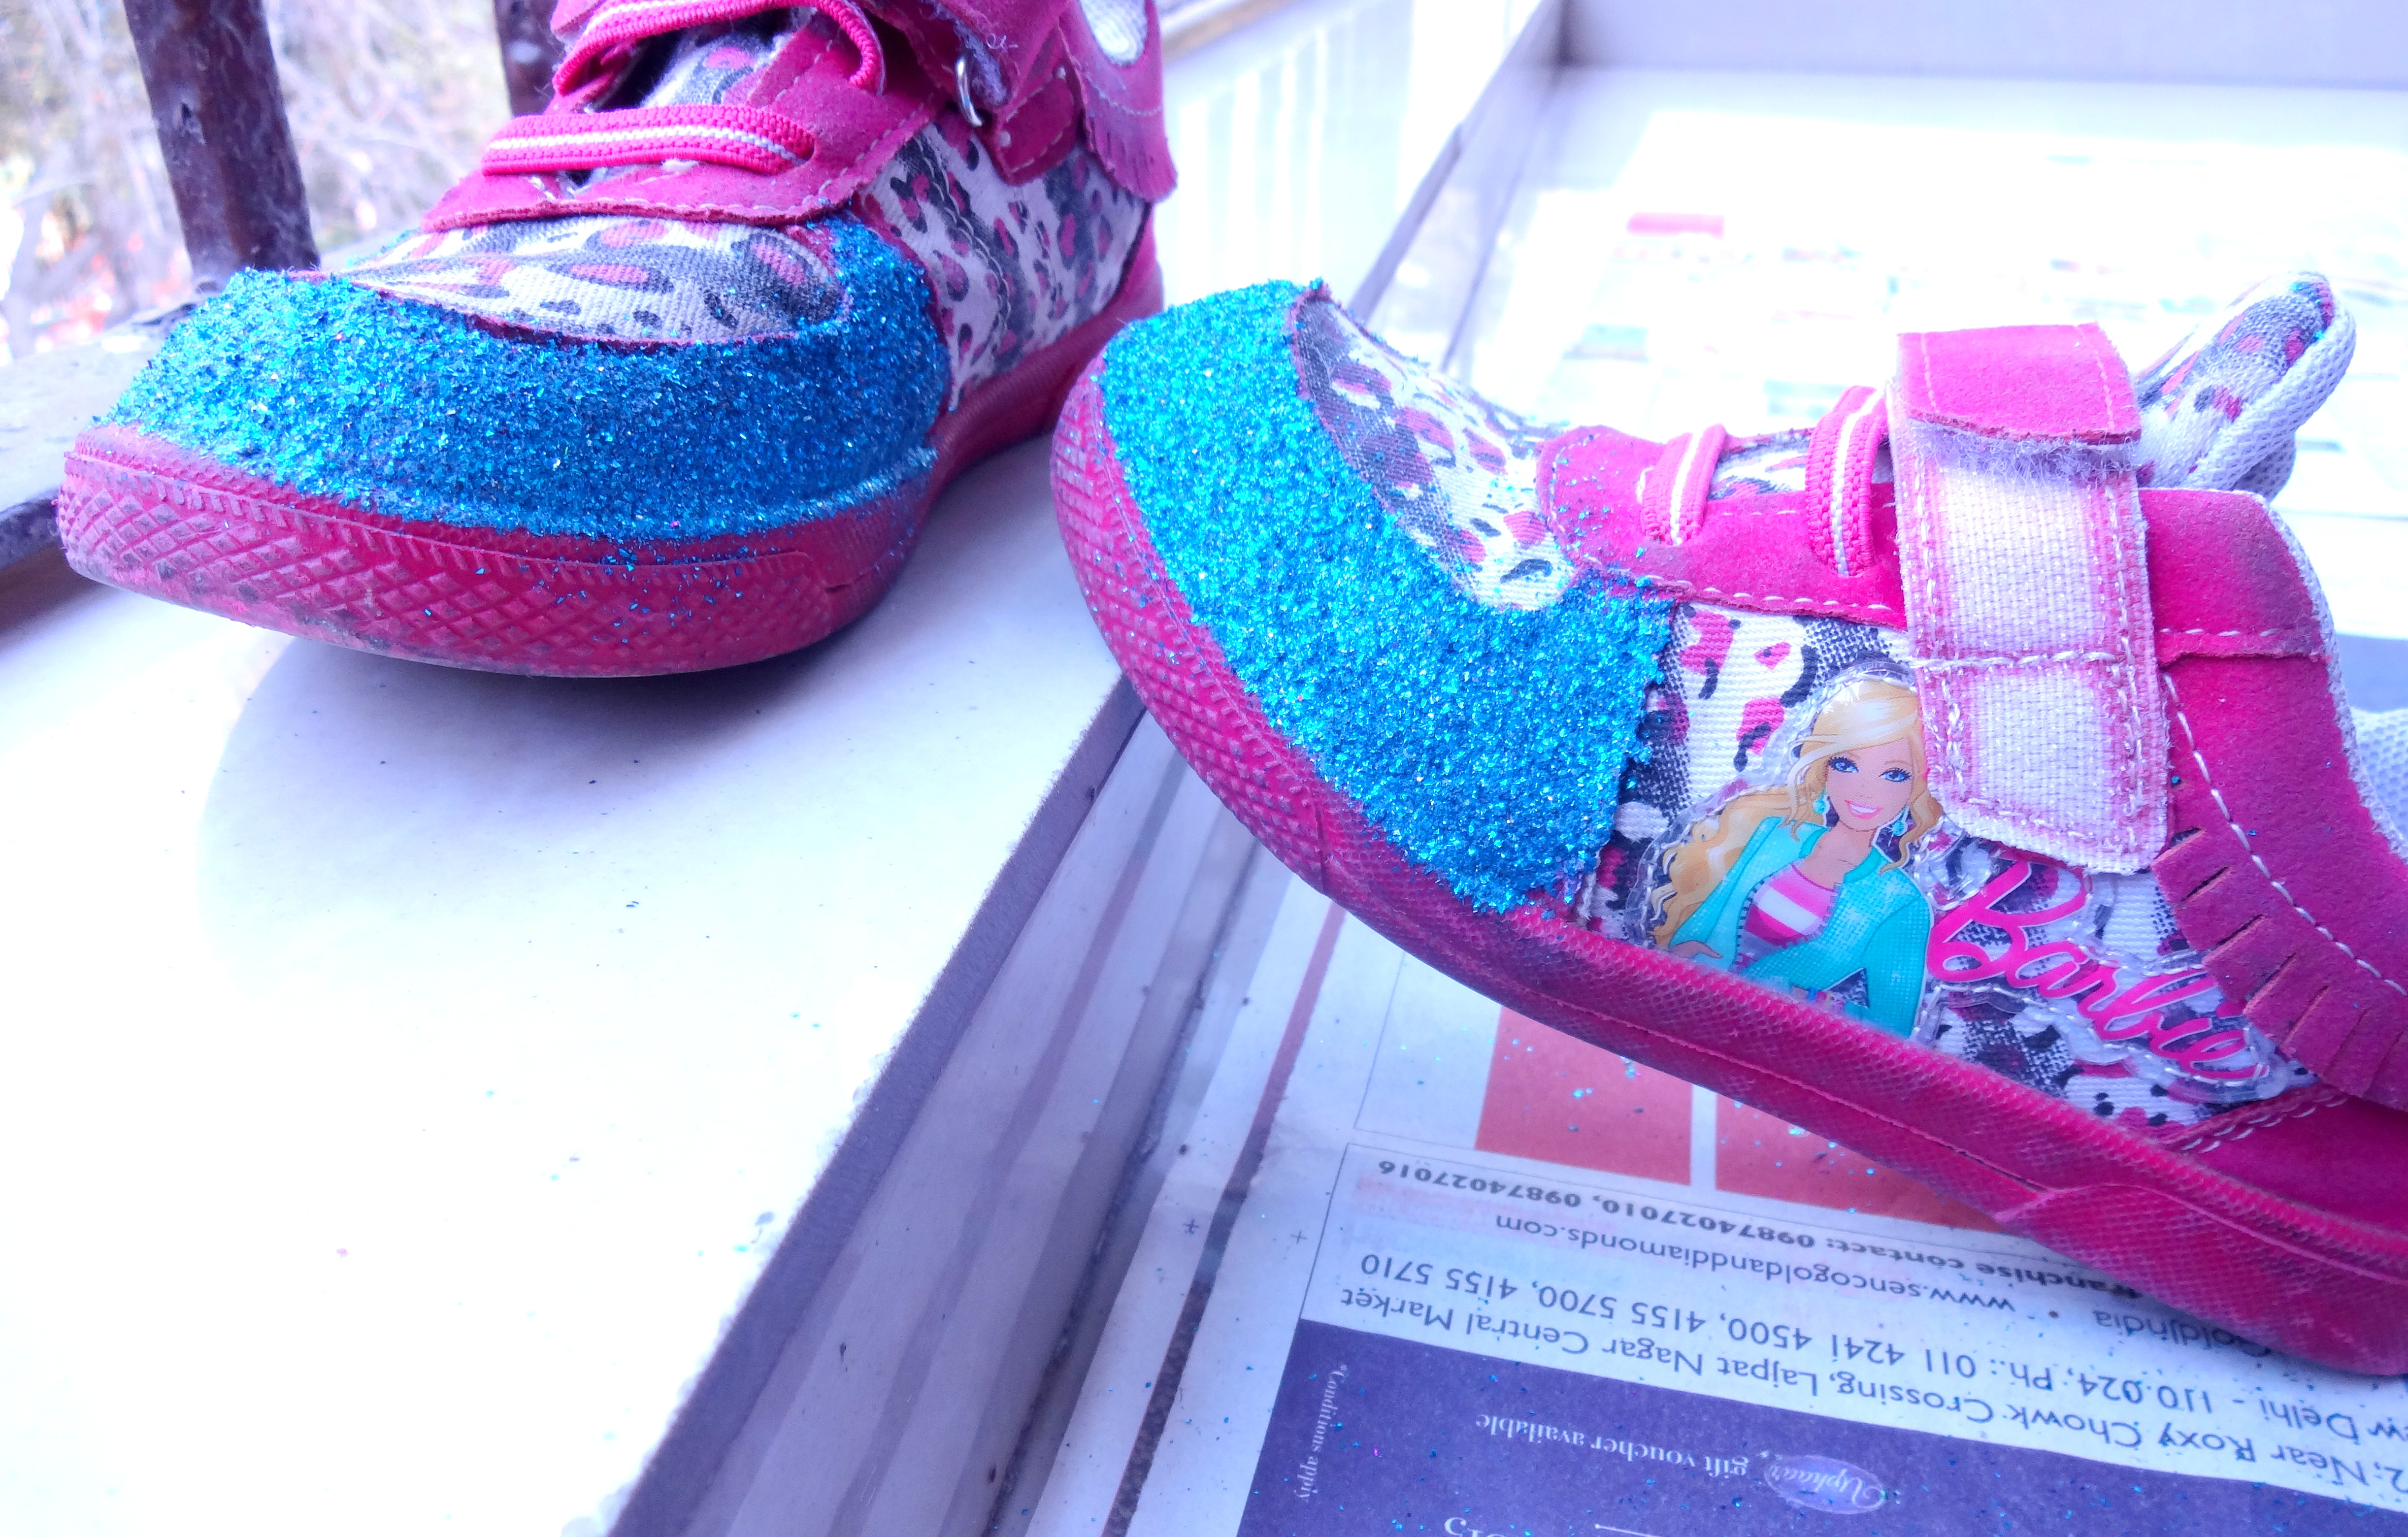
# If the glue mixture is left and you are in your creative Ninja mode then DIY anything you can get your hands on. I did my phone case and my niece’s new shoes. And I am happy I did that.
# Show off your “new” shoes as soon as you can!
Free advice- Do this on a weekend morning for more laughter and energy.
And do tag me if you do this DIY, would love to see more innovations.
More power to the Glitter girls!